Ever found yourself in the middle of an epic game or a hilarious video call and thought, “I wish I could record this”? Well, you’re in luck! The iPhone has a built-in screen recorder that’s easier to access than your favorite pizza place on a Friday night.
Understanding Screen Recording on iPhone
Screen recording on iPhone captures what’s happening on the screen, allowing users to share moments easily. This feature caters to various needs, from tutorials to capturing game highlights.
What Is Screen Recording?
Screen recording refers to the process of capturing video footage of the display on an iPhone. Users initiate the feature through the Control Center, which provides a quick and easy way to start or stop recordings. Content creators often utilize this tool for walkthroughs, enabling others to follow along visually.
Benefits of Using Screen Recording
Using screen recording presents multiple advantages for iPhone users. First, it simplifies the sharing of important information like technical tutorials or app demonstrations. Second, capturing video calls allows users to retain memories with friends or family. Third, the ability to review gameplay offers gamers an opportunity to analyze their performance and improve skills.
How to Enable Screen Recording on iPhone
Enabling screen recording on an iPhone is straightforward and takes only a few steps. Users can enjoy the convenience of capturing their screens for various purposes.
Accessing Settings
To access settings, open the Settings app on the iPhone. Scroll down until finding the Control Center option. Tapping on Control Center reveals customization settings. Locate the “Screen Recording” feature in the list. If it’s not already included, users can easily add it. Activating this feature ensures quick access, allowing for seamless screen capturing whenever needed.
Adding Screen Recording to Control Center
Adding screen recording to the Control Center starts in the same settings menu. After accessing Control Center, find the “Customize Controls” option. In the list of More Controls, look for Screen Recording. A simple tap on the green plus sign adds it to the Control Center. Users will then see the screen recording icon appear in the Control Center for quick access. This addition simplifies the process and makes recording even more accessible anytime.
Using the Screen Recorder Feature
The screen recording feature on an iPhone is easy to navigate. Users can start capturing their screen with just a few simple steps.
Starting a Screen Recording
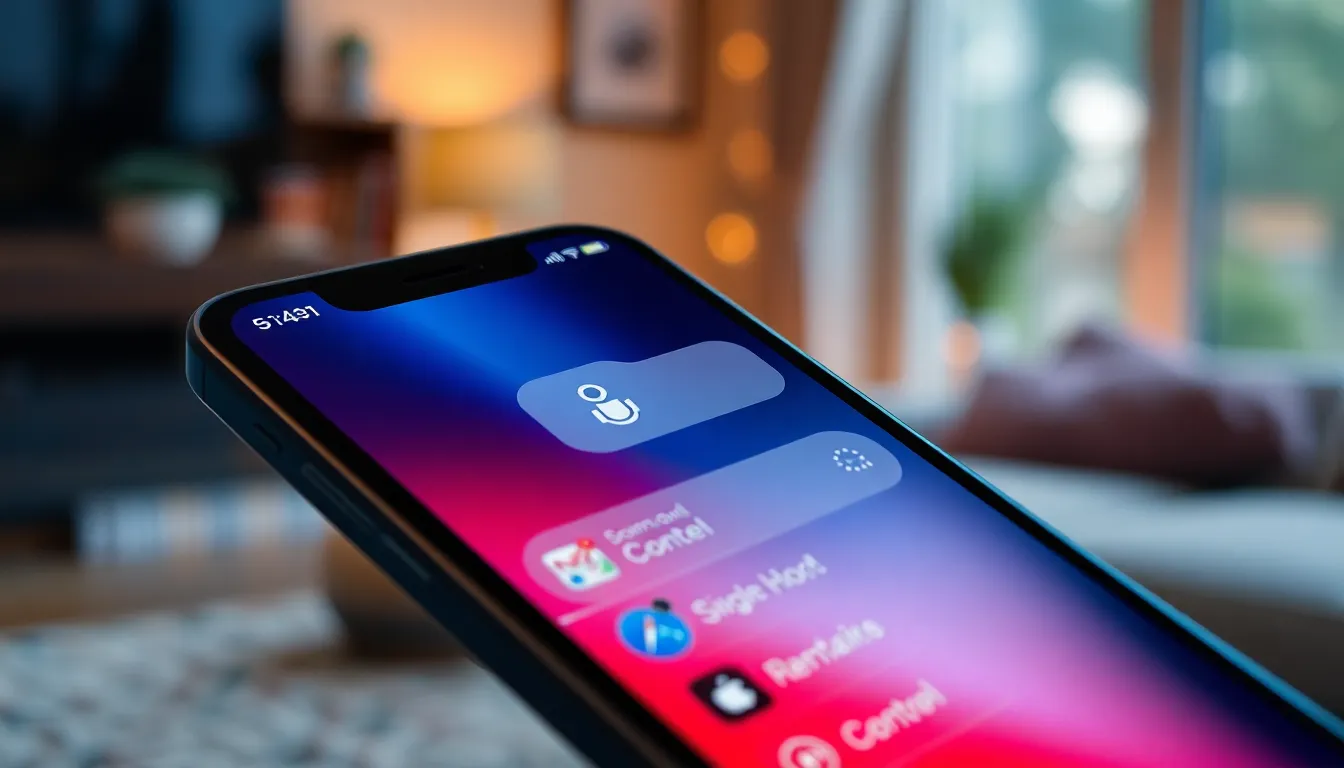
To start a screen recording, open the Control Center by swiping down from the upper-right corner of the screen. Tap the Screen Recording icon, which looks like a solid circle surrounded by a larger circle. A three-second countdown will begin, indicating that the recording is about to start. During this countdown, users can prepare their screen as needed. To include audio in the recording, press and hold the Screen Recording icon and toggle on the microphone. After the countdown ends, the recording will begin immediately, allowing users to capture everything displayed on their screen.
Stopping a Screen Recording
Stopping the recording is just as easy. Users can either tap the red status bar located at the top of the screen or return to the Control Center and tap the Screen Recording icon again. Upon stopping the recording, a notification will appear, confirming that the video has been saved. This quick process ensures that users can easily conclude their recording at any time, without complications.
Accessing Your Recorded Videos
Finding the recorded videos is straightforward. Users can open the Photos app where the recordings are saved automatically in the Albums section. Look for the “Screen Recordings” album, which organizes all recorded videos in one place. From there, users can view, edit, or share their videos as desired. This accessibility simplifies the process of reviewing and using recorded materials for various needs.
Tips for Effective Screen Recording
Effective screen recording enhances the quality of captured content. Following specific practices ensures better results.
Best Practices for Quality Recordings
Choose a quiet environment to minimize background noise. Adjust your screen brightness to improve visibility. Keep your iPhone’s software updated for optimal performance. Clear other apps running in the background to prevent slowdowns. Use orientation lock to maintain a consistent screen position. Save important recordings immediately to prevent loss. Edit clips post-recording for a professional touch.
Common Issues and Troubleshooting
Sometimes, users encounter difficulties with screen recording. Display issues could arise from low storage space. If recordings don’t save, checking available storage becomes essential. Another potential issue involves audio problems; ensure the microphone is enabled while recording. Restarting the device can often resolve software glitches. Frequent crashes might indicate the need to check for app updates or device maintenance.
The screen recording feature on the iPhone offers an efficient way to capture and share moments. Whether for tutorials or preserving memories, it’s a valuable tool for users. With just a few simple steps users can enable and access this feature quickly through the Control Center.
By following best practices for screen recording, such as ensuring a quiet environment and keeping the device updated, users can enhance their recording quality. Troubleshooting common issues ensures a smooth experience, allowing for seamless capturing of essential content. Embracing this feature opens up new possibilities for creativity and sharing in the digital age.


